

How to Hang Heavy Gates That Will Not Sag
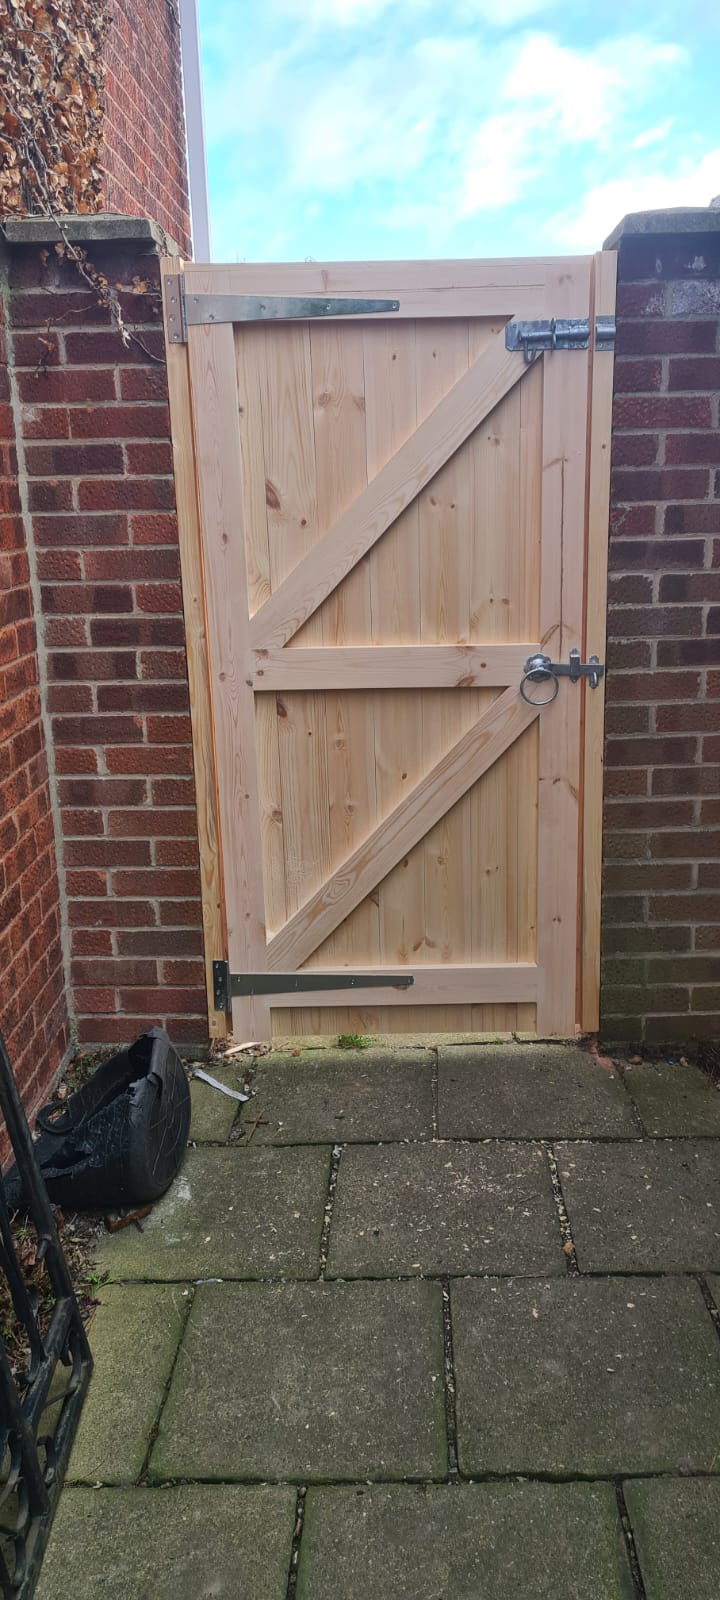
A heavy wooden gate can look right for decades, or start catching on the ground within a season. The difference is rarely the gate itself. When learning how to hang heavy gates, the real work is in the posts, hinge choice and careful setting-out before the first screw or bolt is tightened.
A well-made timber gate deserves a fitting installation. Heavy gates place constant leverage on their hinges and posts, particularly wide driveway gates that are opened several times a day. Take time at this stage and the gate will close cleanly, sit square and protect the entrance it was made for.
Start with the weight, width and opening
Before choosing ironmongery, establish what the gate will ask of it. Measure the finished width and height, and if possible find the gate's weight from the manufacturer. A wide gate may not look especially heavy, but its weight sits a long way from the hinge line. That distance creates leverage, which is what causes undersized hinges and weak posts to move over time.
Consider the direction of swing too. A gate should normally open inwards, away from a public pavement or road. Check for slopes, kerbs, drains and uneven ground. If the drive rises immediately behind the gate, an inward-opening gate may need more clearance underneath, a shorter leaf, or a different arrangement altogether.
For a pair of driveway gates, plan the meeting point in the centre and decide which leaf will be the active gate. The fixed or less frequently used leaf can be secured with a drop bolt, while the active leaf takes the latch and everyday use. Both leaves still need equal care in setting out.
Use posts that can carry heavy gates
Posts are the foundation of the whole installation. A heavy gate hung on a light, poorly set post will eventually pull it out of line, however good the hinges may be. For substantial driveway gates, use properly sized timber gate posts or suitably engineered steel posts, selected for the gate's dimensions and weight.
Timber posts need to be straight, sound and suitable for exterior use. Engineered timber is a strong choice for wooden posts because it is designed for improved stability compared with ordinary pressure-treated softwood. It is particularly useful where a gate needs to remain true through wet winters and dry summer spells.
Set each post deep enough to resist movement. As a practical rule, around one third of the overall post length should be below ground, with the final depth adjusted for the size of the gate, soil conditions and local exposure. Large gates in soft, wet or windy sites may need deeper foundations and larger posts than a small garden gate in a sheltered position.
Concrete the posts in carefully, keeping them plumb in both directions. Do not assume the faces of an existing brick pier or fence are square. Use a long spirit level, measure between the posts at the top and bottom, and brace them until the concrete has fully cured. Hanging a gate before the footing has set is an invitation for the post to shift under load.
Where a gate is fixed to a masonry pier, check that the masonry is sound and use fixings designed for the load. Old brickwork, loose mortar and narrow piers need professional judgement. A heavy gate should never be treated as something that can simply be bolted to any convenient surface.
Choose hinges to suit the gate, not just its appearance
Traditional hook and band hinges are a dependable choice for timber gates, especially where you want a classic, handmade appearance. The bands spread the load across the face of the gate, rather than concentrating it around a small fixing point. For heavy gates, choose long bands that extend well across the horizontal rails.
As a guide, hinge bands should cover at least one third of the gate width. Wider or heavier leaves often benefit from longer bands. Two substantial hinges are usually sufficient for a standard gate, but a very tall, heavy or frequently used gate may need a third hinge around the centre to reduce strain and help prevent twisting.
Adjustable hinges are useful where fine alignment is needed after installation. They allow minor corrections as timber settles, but they are not a cure for undersized posts or inadequate fixings. Whichever style you choose, make sure the hooks, bands, bolts and fixings are all rated for the gate's weight and made from galvanised or other corrosion-resistant material suitable for British weather.
Avoid using ordinary light-duty T-hinges for a large driveway gate. They may appear adequate on the day of fitting, but the gate's repeated movement soon exposes the weakness. Good ironmongery costs less than replacing damaged posts, scraping a gate along the ground, or rebuilding a sagging entrance.
How to hang heavy gates accurately
Gather the equipment before lifting the gate into place. You will need a tape measure, spirit level, drill, suitable bits, spanners, pencil, packers and strong temporary supports. For a particularly heavy gate, use two or more people, or lifting equipment. Do not try to hold a large gate in position while fitting hinges alone.
Start by marking the hinge positions on both the gate and the hanging post. Position the top hinge close to the top rail and the bottom hinge close to the bottom rail. This gives the best resistance to sagging. If a third hinge is used, place it centrally rather than simply dividing the gap by eye.
Set the gate on solid packers at the intended finished height. Leave enough clearance below for drainage, surface movement and seasonal swelling. For many timber gates, a gap of around 50mm above finished ground level is sensible, although a sloping drive or uneven surface may need more. Keep consistent gaps at the sides and, for double gates, at the centre meeting line.
With the gate supported, check it is level across the top and plumb at the hanging stile. Measure diagonally from corner to corner. Equal diagonal measurements confirm that the gate is sitting square. It is far easier to correct a few millimetres now than after holes have been drilled and bolts fitted.
Fit the hinge hooks or mounting plates to the post first where the chosen system allows it. Pre-drill all timber fixing holes to reduce the risk of splitting, especially near rail ends. Use through-bolts with washers and nuts for heavy gates where possible. Coach screws can be suitable for some installations, but through-bolting gives a more secure mechanical fixing when the gate construction allows it.
Offer the hinge bands to the gate, fit the bolts loosely, then make the final checks before tightening. Open and close the gate slowly several times. Look for any point where it catches, binds or loses its clearance. A gate that drops slightly as it opens often indicates the post is not plumb, the hinge hooks are misaligned, or the hinge hardware is not carrying the weight evenly.
Fit stops, latches and drop bolts after alignment
Do not fit the latch, stop or drop bolt until the gate is hanging correctly. These items should support a properly aligned gate, not pull a poorly aligned one into place.
For a single gate, a gate stop fixed to the closing post gives the latch a firm surface to close against. For pairs of gates, a centre stop, latch and drop bolt arrangement prevents the leaves from passing each other in high winds. A drop bolt should enter a proper ground socket or receiver, not simply press into loose gravel or soil.
Test the gate in wind if possible. A heavy timber gate can gather considerable force when caught by a gust, so fit a suitable holdback or cabin hook where the gate needs to remain open. This protects the hinges and prevents the gate from swinging into a wall, vehicle or person.
Allow for timber movement and maintain the installation
Even well-engineered timber moves a little with changing moisture levels. That is normal. The aim is to leave sensible clearances and use good construction so that minor seasonal movement does not become a fitting problem.
Inspect the hinges, bolts and posts after the first few weeks of use, then at least once a year. Tighten any loose nuts, lubricate moving hinge parts where appropriate, and look for signs of post movement. Keep the bottom edge of the gate clear of standing water and maintain the timber finish with a suitable exterior primer, paint or oil system.
At Premier Timber Gates Ltd, we make gates with traditional mortice and tenon joinery, exterior-grade D4 glue and hardwood dowels because the gate itself must be built to withstand everyday use. But even the best joinery relies on sound posts and correctly specified ironmongery to do its job.
A heavy gate should feel controlled rather than forced: easy to swing, firm when shut and properly supported at every point. If the gate is unusually wide, installed on a slope or fitted to old masonry, asking for advice before fitting is time well spent. A careful installation lets the workmanship show every time the gate opens.


Comments