

How to Weatherproof Gate Posts for Lasting Strength
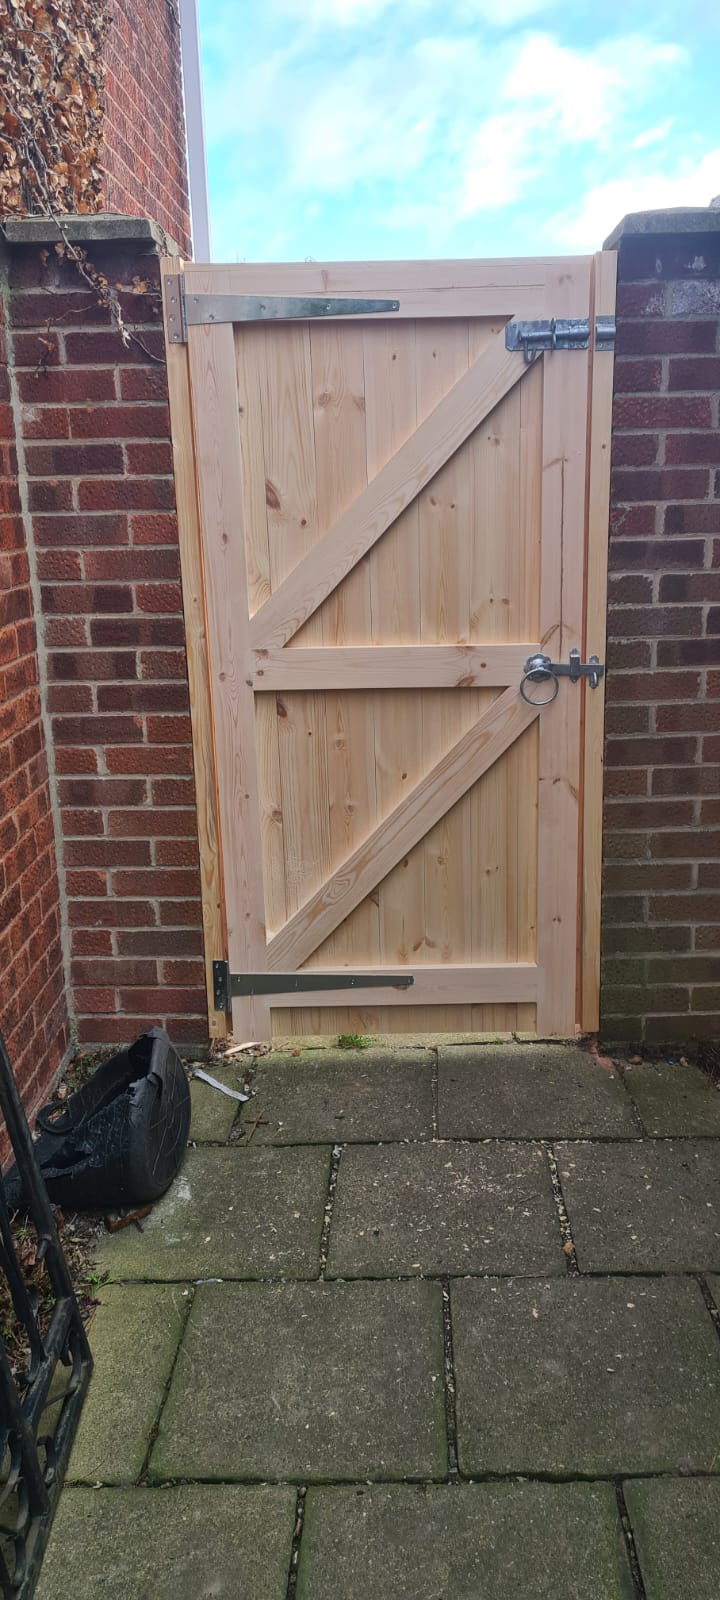
A wooden gate can be beautifully made, correctly hung and fitted with good ironmongery, yet still fail early if its posts are left to sit in wet ground. The area at and just below soil level is where most trouble starts. Knowing how to weatherproof gate posts properly protects the part of the entrance that carries the weight, takes the strain and keeps your gates hanging true.
For a domestic driveway or garden gate, the aim is not to make timber completely waterproof. Wood needs to breathe and move with the seasons. The job is to slow down water absorption, prevent trapped moisture, protect vulnerable cut ends and create drainage around the post so water does not remain where it can do the most damage.
Start with a Gate Post Built for Outdoor Work
Weatherproofing begins before the post goes in the ground. A lightweight, fast-grown softwood post may look acceptable on delivery, but it is a poor foundation for a heavy pair of driveway gates. Choose a properly sized structural gate post that matches the weight, width and use of the gates. A post for a small pedestrian gate has very different demands from one carrying two substantial driveway leaves.
At Premier Timber Gates, we favour engineered timber for many external joinery applications because it is made from selected sections bonded together under controlled conditions. This helps reduce the twisting, splitting and movement often seen in ordinary pressure-treated timber. It is not a substitute for sensible installation or maintenance, but it gives you a more stable starting point.
Check the timber before fitting. The post should be straight, free from serious shakes and supplied dry enough to accept its finish. If it has been stored outside in persistent rain, allow it to dry before applying primer, preservative or oil. Coating wet timber merely traps moisture beneath the surface.
Treat every fresh cut
The factory-finished faces of a post are only part of the picture. Cutting the bottom to length, drilling hinge holes or trimming the top exposes fresh end grain. End grain takes in moisture much faster than the long faces of the timber, so every new cut needs attention.
Brush an end-grain preservative or suitable exterior wood treatment onto these areas, following the manufacturer’s drying times. Apply it liberally to the bottom end, the top cut, hinge recesses and any drilled holes. Two wet-on-wet coats are often worthwhile on the bottom end, where conditions are harshest.
How to Weatherproof Gate Posts Before Installation
Apply your chosen coating system before the posts are installed, rather than trying to paint around hinges and close to the ground afterwards. A sound exterior primer followed by a quality microporous paint system offers strong surface protection and makes future maintenance straightforward. An exterior wood oil can also suit a more natural finish, although it usually needs refreshing more frequently.
Paint is often the practical choice for posts that will carry gates, particularly where a solid colour is wanted to match the gates and property. Use products intended for external timber, not interior paint or a general-purpose shed treatment. A microporous coating allows moisture vapour to escape while reducing rain penetration.
Pay particular attention to the bottom 300mm to 450mm of each post. This is the splash zone: rain hits the ground, bounces back onto the timber and leaves it damp for longer. Give this section an extra coat where your chosen system permits it. Do not forget the back face either. A post coated only on the visible sides can absorb moisture from behind and underneath.
The top of the post needs equal care. A flat, unprotected top is an open invitation for standing water. Cut or fit a cap so rain runs off rather than pooling. A shaped timber cap, a purpose-made post cap or a properly fitted metal cap can all work well. Whichever you choose, it must shed water cleanly and be fixed without creating gaps where rain can sit.
Install for Drainage, Not Just Strength
A weatherproof finish will not save a post installed in a permanently wet hole. Drainage is the practical detail that is most often overlooked.
Dig a hole deep enough to give the post proper support for the gate size, while allowing room beneath and around it for drainage material. As a broad guide, gate posts commonly need a substantial proportion of their length below ground, but the exact depth depends on the post section, soil, gate weight, exposure and whether the gate is likely to catch strong winds. Heavy driveway gates and exposed sites deserve a more cautious approach.
Place a layer of compacted gravel at the base of the hole before positioning the post. This gives water somewhere to drain instead of leaving the timber end sitting in a wet pocket. Check the post is plumb in both directions and brace it securely before adding your chosen backfill.
Concrete is commonly used because it gives firm support, especially for wide or heavy gates. However, concrete must be formed carefully. If it is dished towards the post, it can hold water against the timber at ground level. Finish the top with a slight slope away from the post so rainwater runs off. Keep the concrete below the final soil or gravel level where possible, then use a free-draining surface finish around the post.
In lighter applications and well-draining ground, compacted aggregate may be a sensible alternative to concrete. It drains better and can make a future replacement less disruptive, but it does not offer the same resistance to movement under a large, frequently used gate. There is no single method for every entrance. The right choice depends on the gate and the ground beneath it.
Keep soil and mulch away from the timber
Do not pile soil, bark or decorative gravel high against the post after installation. It may make the garden look tidy, but it keeps the timber damp and hides early signs of coating failure. Leave a visible margin around the post and keep the finished ground level sensible.
If the post stands next to a lawn, avoid directing a sprinkler at it. Repeated watering is just as damaging as rain when moisture cannot dry away. Also consider nearby hedges, dense planting and solid walls. They can reduce airflow and leave one side of the post damp long after a shower has passed.
Protect the Hinge and Fixing Areas
Gate posts often begin to deteriorate around hinge bolts, coach screws and drilled holes. Water enters through an unsealed fixing, then works into the timber around the hardware. Over time, this can loosen the fitting and cause the gate to drop.
Before fitting hinges, seal drilled holes with an appropriate preservative or exterior treatment and allow it to dry. Use galvanised or stainless-steel fixings suited to external use. Cheap untreated steel can rust, stain the timber and become difficult to remove when adjustments are needed.
Do not overtighten bolts to the point that they crush timber fibres or split the post. Fit substantial hinges correctly, then inspect them after the gate has settled through its first wet season. If a gate starts rubbing, deal with the adjustment promptly. A sagging gate puts extra leverage on the post and can open up coating cracks around the hinge area.
Maintain Gate Posts Before Small Faults Become Rot
A brief inspection each spring and autumn is usually enough to catch problems early. Look closely at the ground line, the post top, the hinge side and any area where the coating has been knocked by a wheelie bin, mower or garden tool.
Wash off mud and green algae with a soft brush and clean water. Do not blast the timber with a pressure washer, as high pressure can damage fibres and drive water into joints and cracks. Once dry, lightly sand loose or flaking coating, treat any exposed timber and repaint or re-oil the affected area.
Small splits are not always a structural concern, as timber naturally moves outdoors. What matters is whether the split holds moisture, runs into a fixing point or becomes soft at the edges. Probe suspicious areas gently with a screwdriver. Sound timber resists; soft, dark or crumbly wood needs prompt attention.
A well-made gate deserves posts that are treated as part of the structure, not an afterthought. Choose sound timber, seal the cut ends, shed water from the top and make sure the base can drain. Those straightforward details will do more for the life of your entrance than any quick coat applied after the posts are already wet and in the ground.


Comments