
How to Order Custom Gates That Fit First Time
Updated: Sep 11
A gate can look right in a photograph and still be completely wrong for the opening. A few millimetres lost to a sloping drive, a post that is not truly upright, or hinges ordered for the wrong side can turn a straightforward job into an expensive delay. Knowing how to order custom gates properly starts with the space they must work in, not simply the style you like.
Made-to-measure wooden gates give you far more choice than standard off-the-shelf sizes, but they also reward careful planning. Before a gate enters the workshop, the design, measurements, timber, fixing method and finish should all be settled. That preparation is what helps the finished gate hang well, close cleanly and serve the property for years.
Start with the job your gate needs to do
The first decision is whether the gate is mainly for privacy, security, access, safety or kerb appeal. Most gates do more than one of these jobs, but deciding which matters most will guide the specification.
A solid closeboard or boarded garden gate gives greater privacy than an open design, for example. A pair of driveway gates needs to suit the width of vehicles using the entrance and leave enough room to swing freely. A wooden stair gate has a different purpose altogether: it needs safe, dependable operation within the home, with measurements taken around skirting boards, newel posts and any uneven surfaces.
Think about how often the gate will be used, too. A pedestrian gate opened several times each day needs practical latch access and hinges suited to regular movement. Driveway gates that are largely kept closed may prioritise appearance and a secure closing arrangement. There is no single best design for every property. The right answer depends on the opening, the setting and how your household uses it.
How to order custom gates with correct measurements
Accurate measuring is the foundation of a good order. Measure the clear opening where the gate will sit, not an old gate that may have warped, shrunk or been fitted with unusually large gaps. Take the width at the top, middle and bottom of the opening, then use the smallest figure. Brickwork, timber posts and existing pillars are not always perfectly parallel.
Measure the height on both sides as well. If the ground rises across the entrance, note the difference clearly. A gate can be made with a shaped lower edge, additional clearance or a different hanging arrangement where needed, but the workshop needs that information before manufacture begins.
For a single gate, establish the overall opening width and allow for hinge and closing gaps. For a pair of gates, the total width must include the gap at each outer edge and the meeting gap in the centre. Do not assume two equal leaves are always best. On some entrances, one larger leaf and one smaller pedestrian leaf make daily access easier.
It is useful to provide measurements in millimetres, along with a simple sketch. Mark the hinge side, direction of opening and any obstructions such as walls, downpipes, steps, kerbs or a sloping drive. A photograph can also help explain an awkward site, particularly where the gates are fitting between existing brick pillars or steel posts.
If you are replacing posts at the same time, measure the full area rather than only the current clear gap. New posts change the available opening, and their size must be allowed for before gate widths are confirmed.
Check the swing before choosing the design
A good-looking gate is of little use if it cannot open fully. Check whether it will open inwards, outwards or both, and make sure the chosen direction does not obstruct a pavement, parked car, step or planting area. Gates should not open out over a public highway or footpath.
A slope is especially worth checking. A gate that swings across rising ground may catch at the bottom. In some situations, the solution is more ground clearance. In others, a different hanging point, a shaped bottom rail or sliding access may be more appropriate. Be honest about the site from the start - it is much easier to allow for a slope during manufacture than after delivery.
Choose timber construction for the British weather
A wooden gate spends every season outdoors, so construction matters as much as its design. Cheaper pressure-treated softwood can be tempting, but it is often more prone to movement as the timber takes on and releases moisture. That movement can affect how a gate hangs and closes.
Engineered timber is designed to offer greater stability. By laminating selected timber sections, it helps reduce the natural twisting and splitting associated with wider pieces of ordinary timber. It retains the warm character of wood while offering a practical balance of durability and value, without the cost of a hardwood gate.
Look closely at the joinery as well. Proper mortice and tenon joints give the frame real mechanical strength, rather than relying on screws alone. Exterior-grade D4 adhesive and hardwood dowels add further protection at the points where a gate experiences the most strain. These details are rarely the first thing noticed from the road, but they are central to a gate’s long-term performance.
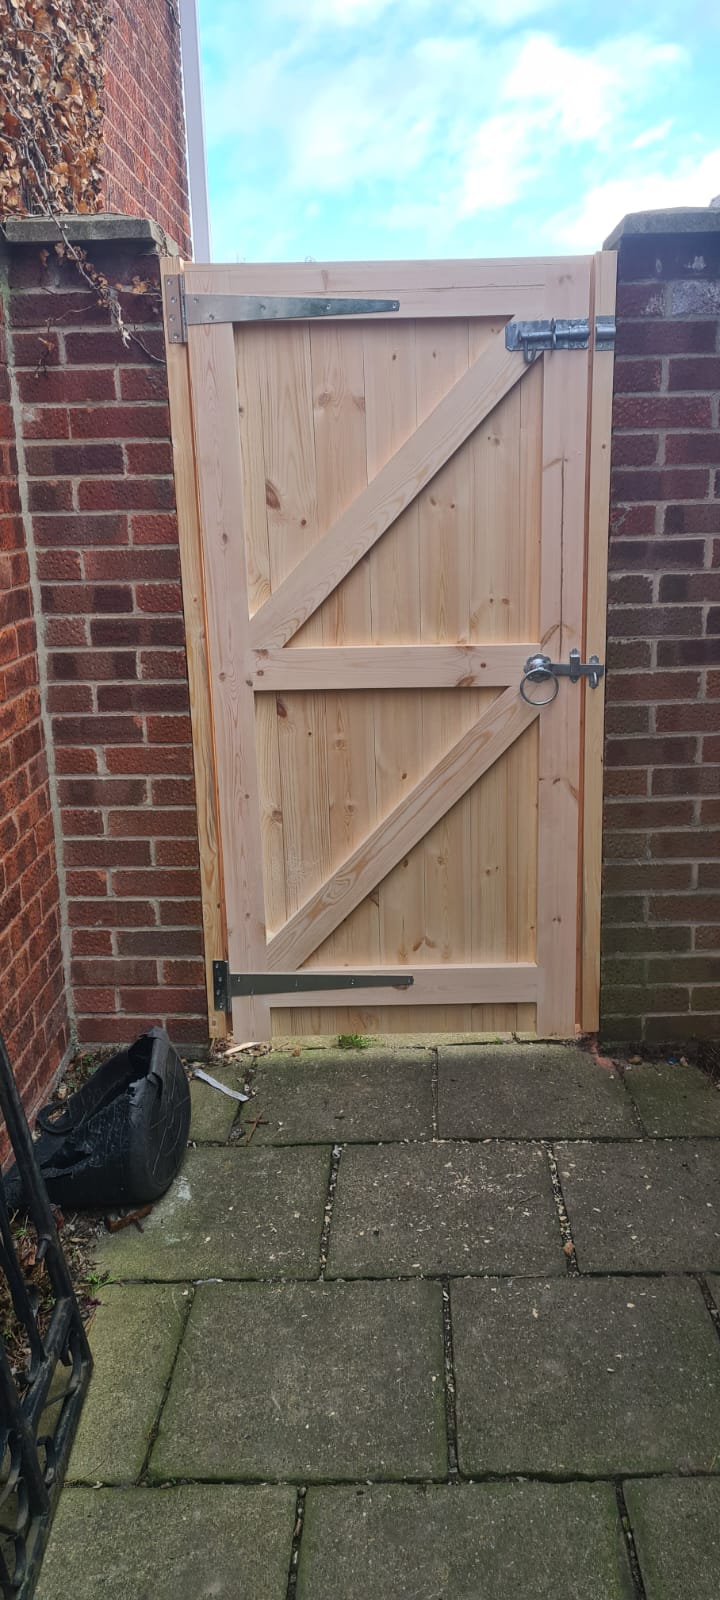
At Premier Timber Gates, gates are handmade in-house using this type of engineered construction, allowing sizes and practical details to be tailored to the opening rather than forced into a standard catalogue dimension.
Select posts and ironmongery as part of the same order
The gate is only one part of the installation. Weak, undersized or poorly fitted posts can undermine even the best-made pair of gates. If you are installing new posts, choose a section size suitable for the gate’s weight and width, then ensure they are set securely and allowed to cure properly before hanging begins.
Ironmongery needs to match both the gate and the site. Adjustable hook and band hinges are often a sound choice for traditional wooden gates because they provide strong support and allow for minor adjustment once fitted. The hinges must be rated for the weight of the gate and long enough to distribute that weight across the back of the frame.
You will also need to decide on a latch, bolts, drop bolts, catches and, for driveway pairs, a centre stop or suitable closing arrangement. Consider who will use the gate. A tall latch may suit a side entrance but not a gate regularly opened by children or an older family member. For driveway gates, a reliable method of holding the leaves open is useful on windy days and when vehicles are passing through.
Ordering the gate, posts and ironmongery together avoids mismatched components and gives your installer a clearer plan. It also means the gate can be designed with the correct hanging and closing details in mind.
Decide on finish and allow for maintenance
Timber gates need ongoing care. The exact schedule depends on the gate’s exposure, its finish and local conditions. A sheltered garden gate will age differently from a driveway gate facing prevailing wind and rain.
Primer and a suitable exterior paint system provide colour and protection, while oils can enhance the natural appearance of timber. Whichever route you choose, treat all faces and edges as advised, especially end grain and areas around joints. Finishing should be maintained before the coating fails, rather than waiting until the timber looks tired.
Pale finishes and natural oils can look attractive but may need more regular attention than darker, opaque coatings. This is not a reason to avoid them - simply choose a finish you are willing to maintain. Keep vegetation clear of the gate, avoid allowing soil to build up against the bottom rail, and check hinges and fixings periodically.
Confirm the practical details before manufacture
Before placing the order, read through the specification line by line. Confirm the finished width and height, whether dimensions are for the gate itself or the structural opening, the hinge side, opening direction, style, finish, post requirements and ironmongery. If the gate is a pair, confirm which leaf is active and how the meeting point will work.
It is also sensible to agree who is responsible for installation and groundwork. A made-to-measure gate can only perform as intended when the posts are level, plumb and properly secured. If you are using an installer, share the final specification with them before the gate is made.
A custom gate is not a rushed purchase, and that is part of its value. Take careful measurements, choose sound construction and plan the whole installation rather than the gate alone. The result should feel at home from the day it is hung - secure under hand, well-proportioned to the property and made for the years ahead.


Comments