

How to Paint Wooden Gates for a Lasting Finish
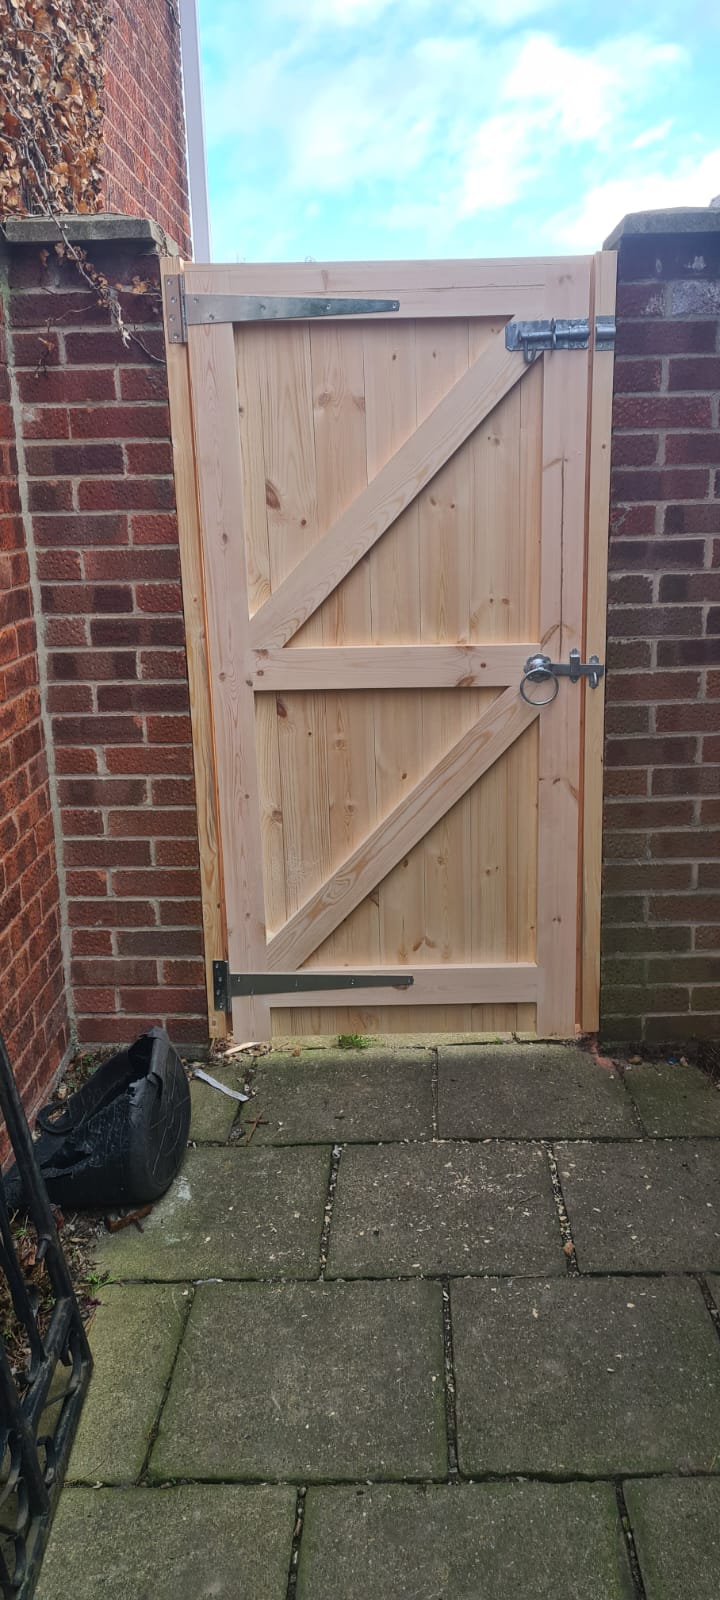
A wooden gate can look tired long before its structure has reached the end of its working life. Faded paint, water marks and small areas of peeling finish are often the first signs that the timber needs attention. Knowing how to paint wooden gates properly is not just about choosing an attractive colour. The preparation, weather conditions and paint system all play a part in keeping moisture out and helping the gate look smart for longer.
A well-made gate deserves a finish that does its job. Whether it is a driveway gate exposed to the elements or a sheltered garden gate, taking the time to prepare the timber properly will give far better results than simply applying a fresh coat over the top.
Choose the right weather before you start
Painting outside in the UK always requires a little patience. Aim for a dry day with mild temperatures, no rain forecast and enough time for each coat to dry fully. Avoid painting in direct, strong sunshine where possible, as paint can dry too quickly on the surface and leave brush marks or uneven coverage.
Damp timber should never be painted. If the gate has been through heavy rain, allow it to dry for several days before starting. Morning dew can also cause problems, particularly on horizontal rails and the lower sections of the gate. Begin once the surface is dry, and make sure you can finish the coat well before evening damp sets in.
The ideal conditions will depend on the paint manufacturer’s instructions, but a dry, overcast day is often best. If the forecast is unsettled, it is better to wait than risk trapping moisture beneath the finish.
Prepare the gate properly
Good preparation is what separates a paint job that lasts from one that begins to peel after a season or two. Start by checking the whole gate, including the bottom rail, joints, edges and areas around hinges and latches. These are the places where rainwater tends to sit and where finishes commonly fail first.
Brush away loose dirt, cobwebs and leaves, then wash the gate with a suitable exterior wood cleaner or a mild detergent solution. Rinse carefully and allow the timber to dry completely. Do not use a pressure washer at close range, as it can force water into the grain, raise the timber fibres and damage softer areas of the wood.
If the gate has previously been painted and the coating is sound, lightly sand it to create a key for the new paint. Use a medium-grade abrasive for rough or flaking areas, followed by a finer grade to smooth the surface. Any loose or peeling paint needs to be removed back to a firm edge. There is little point painting over a weak coating, as the new paint will only fail with it.
Bare timber should be sanded in the direction of the grain. Pay particular attention to end grain, such as the bottoms of stiles, tops of posts and cut ends of rails. End grain absorbs moisture much more readily than the face of the timber, so it needs thorough sealing and careful coverage.
Once sanding is complete, remove all dust with a soft brush and a clean, dry cloth. Paint applied over sanding dust will not bond as well and can leave a gritty finish.
Check fixings and moving parts
Before reaching for the paintbrush, make sure hinges, bolts, catches and gate furniture are secure. A gate that is dragging, catching on the ground or pulling against its hinges should be adjusted first. Fresh paint will not solve a movement problem, and continued rubbing can quickly damage the new finish.
Where possible, mask metalwork that you do not want painted. It is usually easier to paint around hinges and latches with a smaller brush than to remove the gate entirely, although taking a gate down can make sense if it needs repairs or if you want full access to every edge.
Use a primer suited to exterior timber
Primer is not an optional extra when painting new, bare or heavily sanded wood. It helps the paint adhere, evens out absorption and provides an important first layer of protection. Use a good-quality exterior wood primer designed for the type of topcoat you have chosen, and follow the recommended drying times.
Apply primer carefully to all exposed timber, including the underside of the bottom rail, top edges and end grain. These less visible areas are often overlooked, yet they receive the greatest moisture exposure. If the gate has been cut or altered during fitting, seal any newly exposed wood before painting the full gate.
For engineered timber gates, a proper paint system is particularly worthwhile. Engineered construction is designed to offer greater stability than ordinary pressure-treated softwood, but every timber gate still relies on a maintained protective finish to deal with rain, frost and changing temperatures.
If you are painting over an existing finish and are unsure whether it is oil-based or water-based, test a small hidden area first. Some products are compatible, while others need a suitable undercoat or more thorough removal to avoid adhesion issues.
How to paint wooden gates evenly
For most gates, a quality synthetic-bristle brush gives the best control around joints, rails and moulded details. A small roller can speed up wide flat sections, but use a brush afterwards to work paint into corners, joints and the timber grain. The aim is even coverage, not a heavy coating.
Start at the top of the gate and work downwards. Paint the top edges first, then the frame, rails and infill boards. This approach helps prevent drips from falling onto completed areas. Keep a wet edge as you work, especially on broad boards, so the finish blends smoothly.
Do not overload the brush. Thick paint may look reassuring at first, but it is more likely to run, skin over on the surface or dry unevenly. Two or three thin coats, applied at the correct intervals, will generally give a stronger and neater result than one heavy coat.
Take extra care around mortice and tenon joints, where timber components meet. These areas are part of the gate’s strength and are also natural routes for water if the coating is missed or damaged. Work paint into the joint lines without allowing it to build up in thick pools.
Do not forget the edges
The top, bottom and side edges of a gate are easy to miss, particularly once it is hung. Yet these areas are among the most vulnerable to water ingress. Paint every accessible edge, including the bottom rail and the ends of any tongue-and-groove boards.
If the gate opens over gravel, soil or paving, check that it has sufficient clearance. A painted bottom edge constantly rubbing against the ground will soon wear through. It is better to correct the clearance than repeatedly touch up the same damaged area.
Allow proper drying time between coats
Drying times are not the same as curing times. Paint may feel dry to the touch within a few hours, but it can still be soft underneath. Follow the tin instructions for recoating and avoid closing the gate tightly against posts, stops or seals until the paint has had time to harden.
Apply the second coat only when the first is fully dry and clean. If dust, pollen or insects have settled on the surface, lightly sand any rough spots and wipe them clear before continuing. Most exterior painted gates need at least two finish coats over primer, though very light colours over darker timber may benefit from an additional coat.
Be realistic about the weather between coats. If rain arrives before the coating has dried, do not simply paint over the affected surface the next morning. Let it dry thoroughly, inspect for marks or loss of adhesion, then lightly sand and correct the area if needed.
Keep the finish in good order
A painted gate is easier to maintain than to restore. Inspect it each spring and autumn, paying attention to the lower sections, exposed top edges and areas behind ironmongery. Small chips can be cleaned, sanded and touched in before moisture reaches the timber.
Wash off mud, algae and road grime when needed, especially on driveway gates near busy roads. Keep planting and climbing vegetation away from the gate, as trapped damp and poor airflow can shorten the life of any coating. If a gate is close to the ground, make sure water is able to drain away rather than splashing back onto the bottom rail.
With careful preparation and regular checks, paint becomes a practical protective layer rather than a yearly chore. A gate built with sound joinery and properly finished timber will continue to add privacy, security and a welcoming first impression to your home for years to come.


Comments