

Timber Treatment for Longer-Lasting Wooden Gates
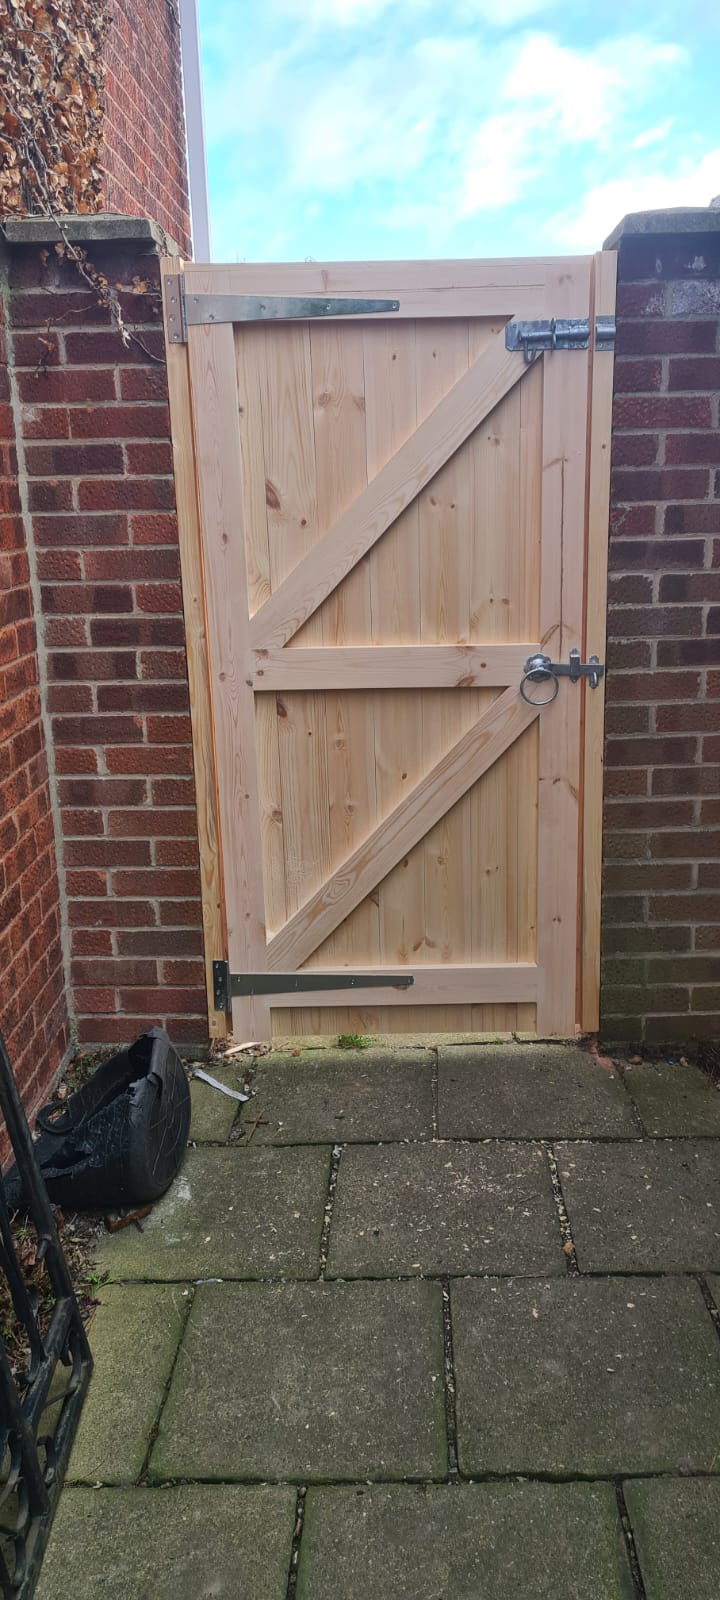
A wooden gate spends every day exposed to the parts of British weather that cause trouble: driven rain, damp ground, strong summer sun and repeated freezing and thawing. Good timber treatment is not simply about making a gate look freshly finished. It is part of protecting the timber from moisture uptake, surface splitting, fading and the gradual deterioration that can shorten a gate’s working life.
For a driveway or garden gate, the best result starts well before the first coat is applied. The timber, joinery, installation and finish all need to work together. A beautifully made gate can still suffer if it is hung too close to the ground, fitted without adequate clearance, or left with unsealed cut ends. Equally, a well-applied treatment cannot turn poor-quality, unstable timber into a long-lasting gate.
What timber treatment actually does
The phrase timber treatment is often used to describe several different products and processes. They do related jobs, but they are not interchangeable.
A preservative is intended to help guard against fungal decay and insect attack. It is particularly useful on bare timber, fresh cuts, drilled holes and areas likely to see repeated dampness. A primer prepares bare wood for a paint system, improving adhesion and giving the top coats a more even base. Oil penetrates the surface and enriches the grain, while helping to repel water. Exterior paint forms a more solid coloured coating, offering strong protection from sunlight when it is maintained properly.
Pressure treatment is another process altogether. It introduces preservative into timber under pressure before it reaches the workshop or customer. This can be useful, especially for timber in close contact with the ground, but it does not remove the need for a suitable exterior finish on a gate. Nor does it prevent the natural expansion and contraction of timber as the seasons change.
For gates, appearance matters as much as protection. A clear or lightly tinted oil keeps the timber character visible, while a painted finish can complement windows, fencing or front-door colour. The right choice depends on the look you want and how much routine maintenance you are prepared to carry out.
Start with stable timber and sound construction
Treatment performs best when applied to timber that has been selected and built for external use. This is why construction matters. Gates are not static panels: they open, close, take wind loading and carry their own weight through every season. If a gate twists or the joints begin to open, water finds its way into vulnerable areas.
Engineered timber is a strong option for made-to-measure gates because it is designed to offer improved stability compared with a single wide piece of timber. It is made from carefully bonded sections, with the grain arranged to reduce the tendency to cup, bow and twist. That stability helps a finish remain intact for longer, because there is less excessive movement beneath it.
Traditional mortice and tenon joints also earn their place here. When properly made, glued with exterior-grade D4 adhesive and secured with hardwood dowels, they provide a far more dependable structure than basic screwed butt joints. Treatment should support this quality construction, not be used to disguise its absence.
Choosing between oil, paint and preservative
There is no single finish that suits every wooden gate. The right route depends on exposure, timber type, desired colour and the level of upkeep that feels realistic for your household.
Oiled finishes for a natural look
Oil is popular when you want to see the grain and retain a natural timber appearance. A quality exterior oil penetrates rather than sitting heavily on the surface, so it is less likely to peel in the way a neglected film-forming coating can. It also makes future maintenance relatively straightforward: clean the gate, allow it to dry fully and apply a fresh coat where needed.
The trade-off is that oil normally needs more regular attention than a well-maintained painted system. South-facing gates and exposed driveway entrances may need refreshing sooner because ultraviolet light gradually breaks down the finish. This is not a fault in the gate. It is the reality of exterior timber exposed to weather and sunlight.
Painted gates for colour and sun protection
A painted gate gives a more uniform finish and can offer excellent protection against UV exposure, particularly in darker or solid colours formulated for exterior joinery. The essential point is to use the complete system recommended by the coating manufacturer: preservative where appropriate, primer, undercoat if specified, and compatible top coats.
Painted timber needs close attention around joints, lower rails, arrises and any place where water can settle. Once paint cracks or chips, moisture can get behind the coating. Small failures are easy to deal with early; leaving them for several seasons can lead to more extensive sanding and preparation.
Preservative as the first line of defence
Preservative should be viewed as a protective stage, not the finished appearance. If you cut a post to length, drill for hinges or trim a gate component during installation, treat the newly exposed bare timber before fitting. These fresh end grains can draw in moisture quickly, especially at the bottom of posts and gate stiles.
Always check that your chosen preservative is compatible with the primer, paint or oil that follows. Mixing products without checking can lead to poor adhesion, slow drying or an uneven finish.
How to apply timber treatment properly
Preparation is where most long-lasting finishes are won or lost. Timber must be clean, dry and free from loose material before treatment begins. Applying oil or paint to damp timber can trap moisture and reduce adhesion, even if the surface feels dry to the touch.
Choose a dry spell and avoid applying coatings in direct hot sun, heavy humidity or when rain is expected before the product has cured. Follow the manufacturer’s guidance on temperature, drying time and number of coats. Those instructions are not just fine print: different formulations behave very differently in cool, changeable weather.
Pay particular attention to end grain. The tops and bottoms of stiles, the ends of rails, drilled holes, cut-outs and the bottoms of posts all deserve extra product. A gate may look fully coated from the front, yet still have vulnerable areas hidden underneath or behind ironmongery.
It is usually best to treat components before final installation where practical. This allows you to coat faces that later sit close to posts, hinges or walls. After fitting, inspect for any scratches, cut edges or marks caused during handling and touch them in promptly.
Installation details that protect the finish
Even the best coating will struggle if a gate remains damp for long periods. Allow suitable clearance beneath the gate so it does not brush against gravel, soil, grass or standing water. The exact gap depends on the site and slope, but the principle is simple: timber should not continually wick moisture from the ground.
Gate posts need equal care. Where posts are installed into the ground, use a method suited to the location and make sure water does not sit around the base. Consider how rainwater will drain, particularly on clay soil or at the bottom of a sloping drive. A gate also needs correctly sized hinges and fittings so that it hangs true rather than dragging and damaging its lower edge.
Avoid fixing metalwork in a way that creates pockets where water is held against the timber. Good-quality ironmongery, correctly positioned and checked periodically, helps protect both the gate’s operation and its finish.
A sensible maintenance routine for wooden gates
A gate does not need constant work, but it should not be treated as fit-and-forget. A quick inspection in spring and autumn is usually enough to catch minor issues before they become expensive repairs.
Look over the lower rails and bottoms of stiles for dark marks, raised grain or softness. Check joints for movement, look closely at paint or oil around edges, and make sure hinges, latches and bolts are secure. Remove leaf build-up and mud from the bottom of the gate, as trapped debris holds moisture against the timber.
If the finish is beginning to look dry or patchy, clean the surface gently and allow it to dry before reapplying the appropriate product. Do not simply coat over flaking paint or blackened, damp timber. Prepare the affected area properly first, otherwise the new layer will not last.
For bespoke gates, keeping a note of the original treatment product and colour is worthwhile. It makes future touch-ups far easier and avoids the guesswork of trying to match a finish years later.
A properly built gate deserves the same practical care as any other lasting part of a home. Give the timber a sound finish, keep water away from its vulnerable points and deal with small signs of wear early. The reward is a gate that continues to open cleanly, look the part and welcome people to your property for many years.


Comments